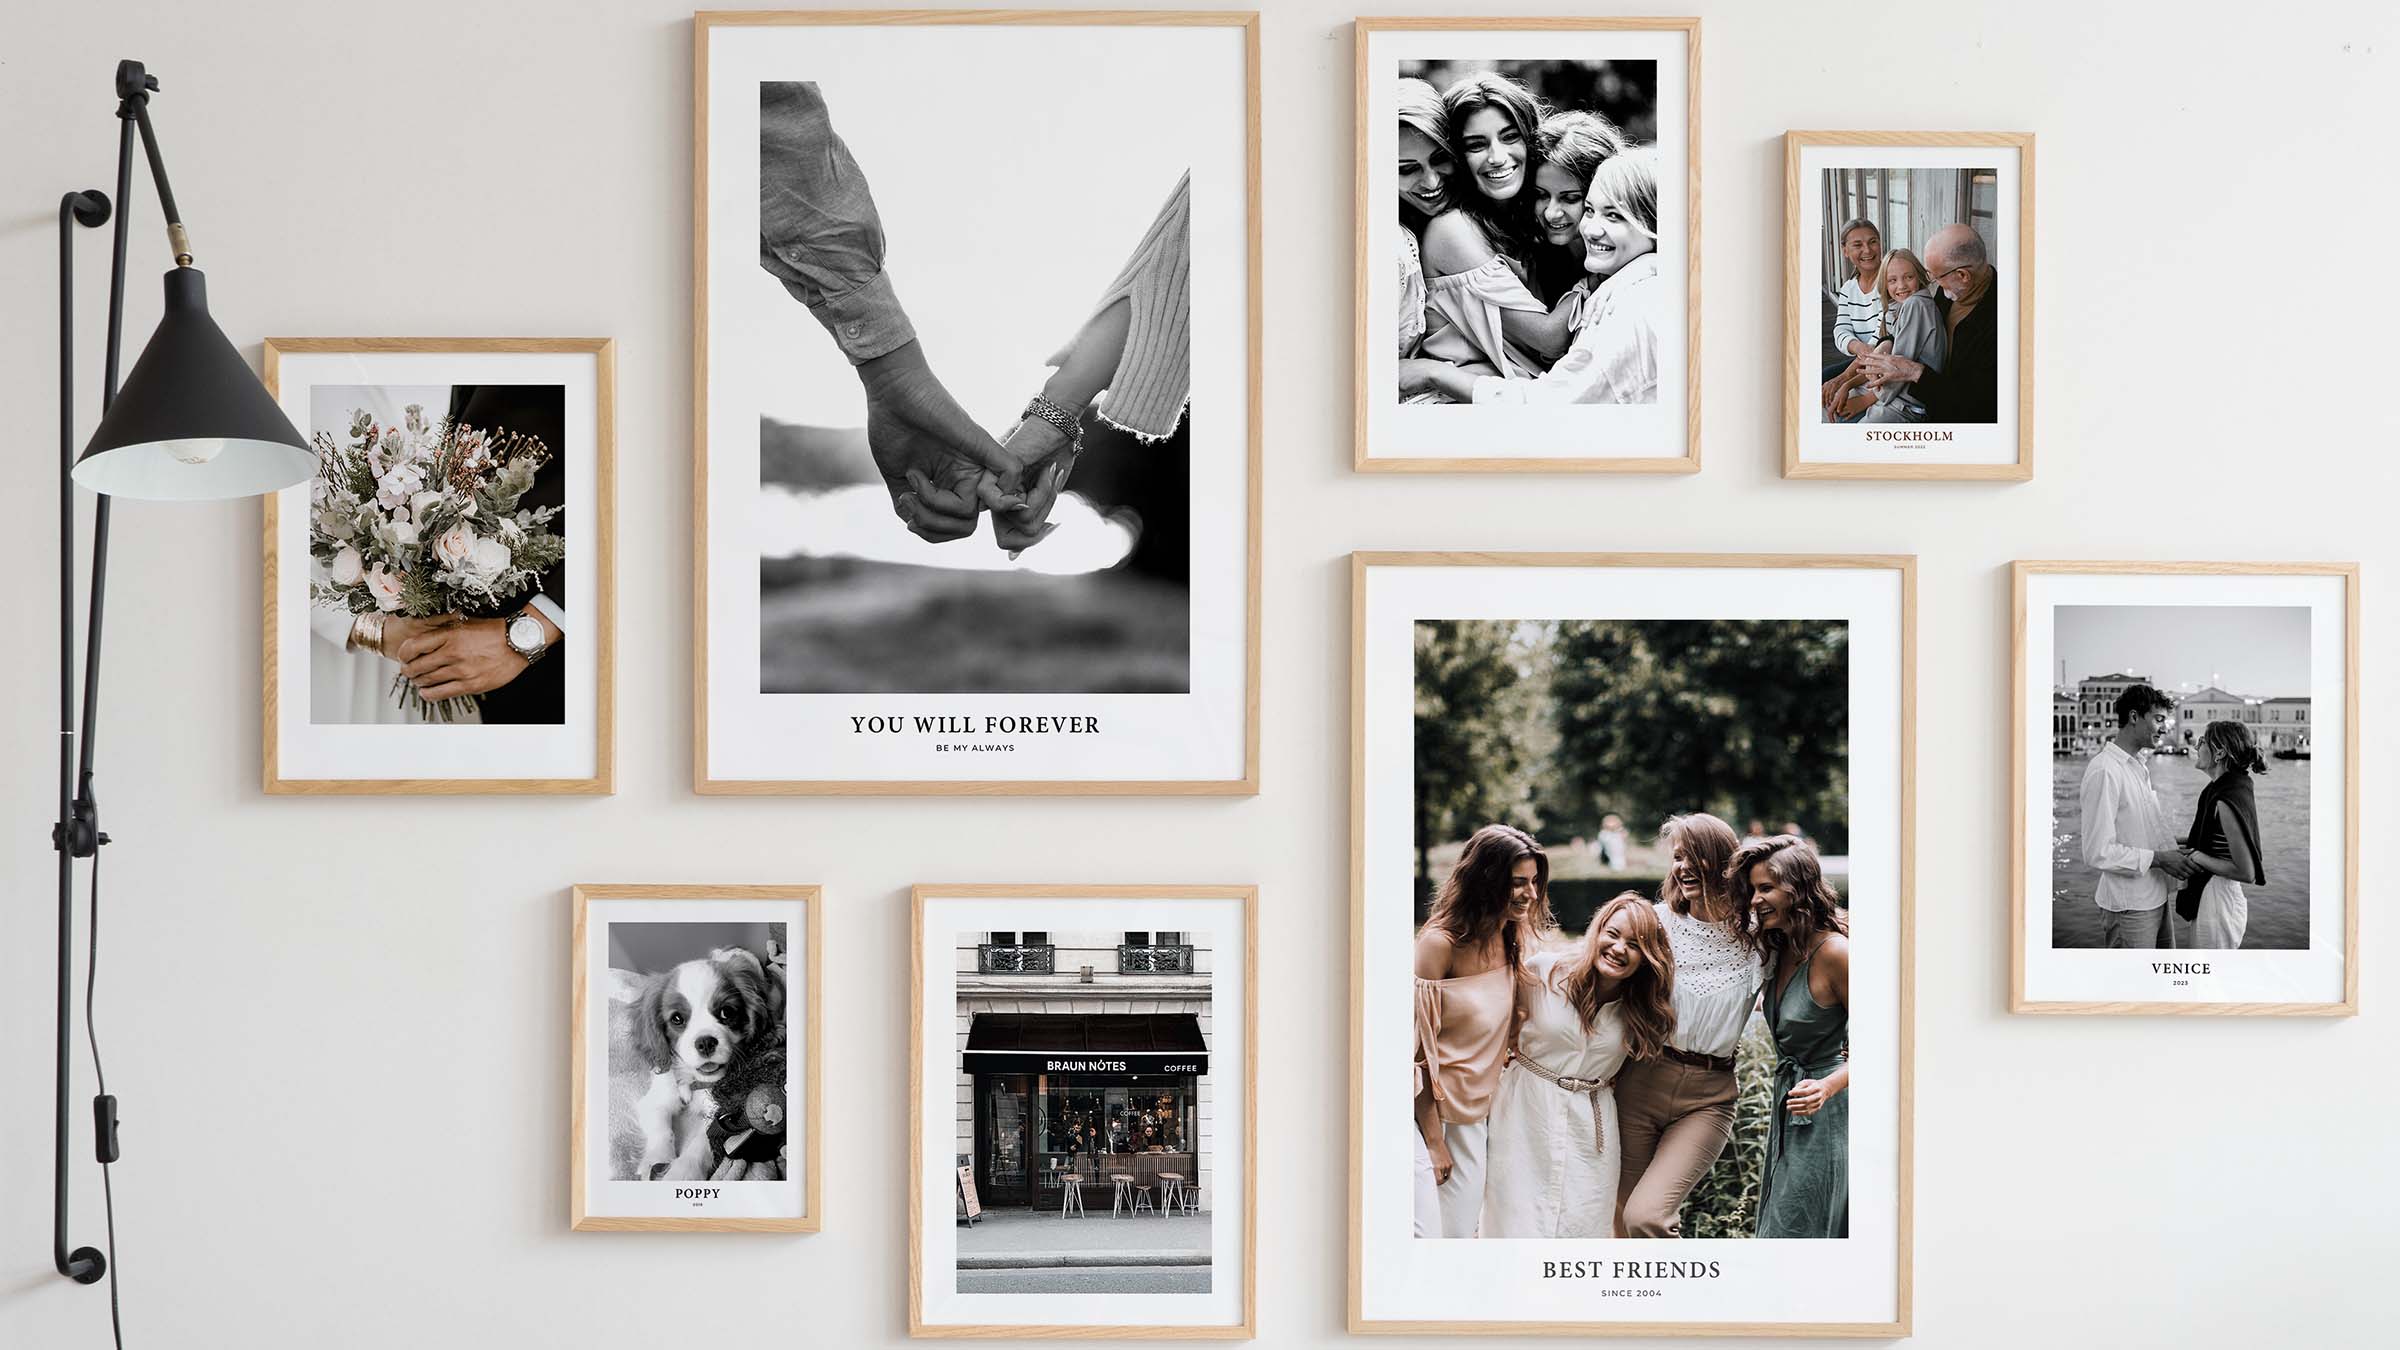
Creating A Personal Gallery Wall

Enlarge the right image: The ultimate guide
Enlarging photos used to be a difficult task. You needed expensive equipment and spent hours in a darkroom to develop your prints. Today it’s easy to take personal memories with various digital cameras and smartphones.
But enlarging an image or making a poster from a photo can still be tricky if you don’t know what factors are important for quality prints.
In this post, we’ll go over the most important things to consider when creating your photo enlargement to ensure you get the best quality possible:
Table of Contents
Preface: Mobile photos
The mobile phone has truly revolutionized photography. With a smartphone, you can take photos of moments in your life with really high quality. Quality that used to require a large DSLR camera.

Today, the vast majority of photos that are enlarged are taken with mobile cameras. Therefore, we will focus most of this article on smartphone or mobile cameras rather than DSLR cameras.
Enough about that. Let’s get started!
1. Original image – the most important factor for high quality enlargements
Having the original photo in original resolution is perhaps the most important factor that plays into the quality of the final print. If you want to enlarge your photo, do make sure it’s an original photo image taken with your mobile or digital camera.

Why is it so important for an enlargement?
The original image is the most unaltered version of your photo. Many services that we use on a daily basis re-save images in smaller sizes by:
- Lowering the resolution or number of pixels in your image (for example, from 12 MP to 6 MP)
- Applying a more aggressive compression to the image
Often both of these techniques are used together. Here are some examples of how big the difference can be when the same image is saved at a smaller size with aggressive compression:

Your photo will be saved at a smaller size if you:
- Downloaded the image from Facebook/Instagram or Snapchat or received it via MMS/Whatsapp
- Used an app to apply effects or filters (usually)
- Saved the image to a cloud service (sometimes)
Photo from Facebook, Instagram or Snapchat or MMS/Whatsapp
When Facebook and Instagram save your photo, they use a lower resolution and more aggressive compression. They do this because their goal is to deliver the images as quickly as possible to everyone who uses their services. This results in noticeably poorer image quality.
Apps and filters
Many different apps and filters do a lot of damage to the photo. When the apps make adjustments to the colours of the image, image information that was in the original image is lost. In addition, images are often saved with lower resolution and more aggressive compression to save space on your phone.
Cloud services
Cloud services such as iCloud and Google Photos can also reduce image size. Whether or not the image is reduced depends on your subscription model. Generally speaking, however, cloud services don’t tend to have a major negative impact on the image, but it can be good to know.
2. Good resolution
Another very important factor for image quality is the resolution of the original file. A lower resolution makes the image more blurry and pixelated when enlarged, while a higher resolution gives sharper and clearer images.

Most common resolution on smartphones
The most common resolution for a smartphone camera is 12-16 megapixels. This is more than enough to print really large images. This means you don’t usually have to worry about resolution. As long as your smartphone is fairly new and the image meets the other criteria in this article, you can feel pretty comfortable.
Many people think that resolution is the only thing you need to worry about when enlarging your photos, but that’s actually not true. It’s also important to ensure the photo has:
3. High sharpness
Sharpness is a very important factor when it comes to achieving the highest quality. When you do a photo enlargement, it becomes extra important because the pixels you see on your screen will be spread out over a larger area.

An image with low sharpness may look good on your phone screen, but you will notice a loss of quality when you make an enlargement. The most common reasons for an image not being sharp are usually that the image is out of focus or that the image has been zoomed or cropped.
Focus on the wrong thing in the picture
When taking a photo, it’s important to make sure your subject or object is in focus. This is where the image will be the sharpest.
It’s super easy to choose the focus when taking a photo with your phone. Just tap your finger once on the person or subject on the screen before taking the picture, and the camera lens will reposition itself to make sure the focus is right.

If the image has the wrong focus, it often becomes very clear. In a portrait, for example, you usually want the focus to be on the face. Preferably on the eyes because that’s where most people are looking at the portrait. If the focus has accidentally gone somewhere in the background, the person becomes blurred and the image loses much of its charm.
The image is zoomed in or cropped
Optical zoom is a process where the lens is used to enlarge an image, much like a pair of binoculars. Mobile cameras usually have very limited optical zoom or none at all because they are so small.
Digital zoom does exactly the same thing, but uses software tricks to stretch the pixels instead of moving the lens. This results in a lower quality image. The image is enlarged, but blurred at the same time!
So avoid zooming in with your mobile camera. Get closer to the subject you want to shoot instead!
Portrait mode – check the contours!
On many phones today, you can use exciting Portrait Modes to take beautiful pictures where the background is blurred (bokeh). As some of these features rely on software to achieve this, the results can sometimes be a bit wonky. Double-check the outline of the main subject to make sure it hasn’t accidentally become blurred.
Evaluating sharpness automatically
It’s quite common for photo printing sites to warn you about low resolution, but very few warn you about poor sharpness. This is because it is much more difficult for a computer to automatically evaluate the content of an image than the resolution of the image.
It’s easy for the computer to count the number of pixels in height and width, but it’s incredibly difficult for it to understand that your picture is a portrait of your child. And that it’s perfectly fine for the background to be blurred as long as the eyes and face of the child are sharp.
How to easily check the sharpness before enlarging
Want to check the sharpness of your photo yourself? Easy peasy!
- Look at the image on a regular computer screen. Avoid the mobile screen – it’s too small.
- Zoom the image in to 100% and look for small details such as eyes or hairs that should be in focus. That’s where you’ll see the sharpness most easily.
4. Light

There are several advantages to shooting in good light. The most important reason is that the photo will be sharper.
How light affects the sharpness of your photos
When the camera takes a photo, it focuses on the light in the scene. If there isn’t enough light, you’ll get blurry photos. The camera lens must be kept open for a long time to compensate for the low light.
When the lens is open longer, it becomes more sensitive to small movements. Either from you holding the camera or from the subject or person in the picture. Even small movements can have a big impact on sharpness when the light is a little lower.
Choose to take the picture outdoors
The very best trick is to try to take your pictures outdoors. The amazing daylight we get from the sun is stronger than you think. The sun’s strong rays allow the lens to take the picture faster and as a result, the image is razor sharp!
Tricks for achieving good sharpness indoors
If you’re taking a photo indoors, it’s a good idea to take the photo near the window where you’ll get natural light. Or why not turn on an extra light? A picture is rarely bad because you have too many light sources. On the contrary!
During the autumn and winter months it is very dark in Europe (especially the northern pars). When taking a photo indoors in December, the light is lower than you might think. During the summer it’s just the opposite.
So never forget to pick up your camera when you’re outdoors. And take the opportunity to take lots of great pictures during the summer!
Endnote
Enlarging photos perfectly can feel like a whole science. You have to think about a lot of different things already when you’re preparing to take the picture. But if you follow our tips on sharpness, light and resolution, everything else will be a piece of cake!
Printing enlargements on matte photo paper
At Wallpoet, you can easily create your own enlargements online in many different formats. In our designer you can easily choose between different filters, borders, text and sizes for your photo. You’ll also find frames that perfectly match your final poster.
Ordering enlargements of your photos on luxury photo paper to fit your home is now easier than ever! With our exclusive filters, you can choose so that the colors of your subject go with the décor of your home, and you it’s easy to choose the format and size for your photo enlargement. We print your memories on matt 200gsm photo paper and offer 3-5 day delivery.
Whether you want the perfect gift or want to decorate with a personalised wall decoration, you’ll find something perfect to order from Wallpoet.
Order enlargements of your photos today!
Did we miss anything in our article? Let us know at care@wallpoet.com